Your car’s cooling system plays a vital role in keeping the engine at an optimal temperature, preventing overheating, and ensuring smooth operation. With hot summer days or long drives, engine temperatures can rise quickly, and neglecting your cooling system can lead to catastrophic damage. Fortunately, checking your coolant system doesn’t have to be intimidating. Whether you’re a seasoned driver or a car maintenance novice, this step-by-step guide will walk you through everything you need to know about inspecting your coolant system, spotting potential problems, and keeping your engine running cool.
Why Is Checking Your Coolant System Important?
The cooling system in your car regulates the engine’s temperature by circulating a mixture of antifreeze (coolant) and water through the engine. The coolant absorbs heat from the engine and then passes through the radiator, where it cools down before circulating back. Here’s why checking your coolant system is crucial:
- Prevents Overheating: Proper coolant levels and quality help dissipate heat efficiently, preventing overheating and engine damage.
- Extends Engine Life: Clean coolant ensures the engine operates smoothly, reducing wear and tear on components.
- Identifies Leaks Early: Regular checks help you spot leaks or issues before they turn into costly repairs.
- Maintains Optimal Performance: A healthy cooling system ensures your engine operates at the right temperature, improving fuel efficiency and performance.
How to Check Your Car’s Coolant System
1. Safety First: Ensure the Engine Is Cold
Before you begin, it’s critical to ensure your engine is completely cold. Checking the coolant while the engine is hot can be dangerous, as the coolant is under pressure and can spray out, causing severe burns. Ideally, check your coolant after the car has been sitting overnight.
2. Locate the Radiator or Coolant Reservoir Cap
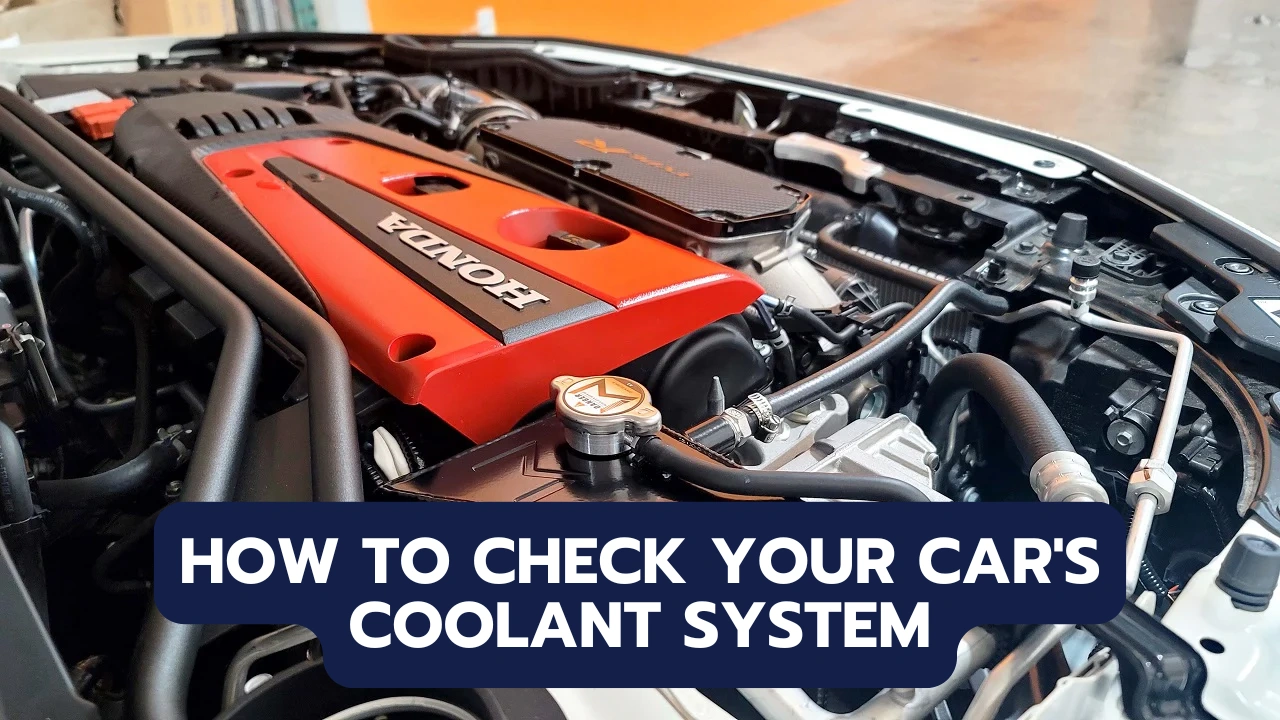
Depending on your vehicle, the cooling system will have either a radiator cap or a coolant reservoir cap. Here’s how to find it:
- Radiator Cap: Typically located on top of the radiator at the front of the engine bay.
- Reservoir Cap: In modern cars with sealed radiators, the cap will be on the plastic coolant reservoir, usually marked with a “coolant” symbol.
If you’re unsure where the cap is located, consult your owner’s manual for detailed instructions.
3. Check the Coolant Level
Once you’ve located the cap, follow these steps to check the coolant level:
- Remove the Cap Carefully: Gently twist off the cap. If it feels pressurized, stop and let it release slowly.
- Check the Radiator: If your car has a radiator cap, the coolant should reach the top of the radiator neck.
- Check the Reservoir: If your car has a coolant reservoir, the level should reach the “cold full” or “min” and “max” marks on the side of the reservoir.
4. Inspect the Coolant’s Condition
Coolant should be clean and free of contaminants. Depending on the make and model of your car, the coolant can come in various colors. Here are common coolant types and their colors:
- Green (IAT – Inorganic Additive Technology): Older vehicles.
- Orange (OAT – Organic Acid Technology): GM, Saab, Volkswagen.
- Yellow (HOAT – Hybrid Organic Acid Technology): Ford, Chrysler, European vehicles.
- Turquoise (Phosphate-Free HOAT): BMW, Volvo, Tesla.
- Pink or Blue (Phosphate HOAT): Toyota, Nissan, Honda, Hyundai, Kia.
- Purple (Silicate HOAT): Mercedes-Benz, Audi, Volkswagen, Porsche.
5. Look for Signs of Contamination
Check the coolant for any unusual signs. Here’s what to watch out for:
- Rusty or Dirty Coolant: Indicates contamination and requires a coolant flush.
- Milky Pink Coolant: Suggests transmission fluid contamination due to a faulty transmission cooler.
- Oil Contamination: Indicates a potential head gasket or intake manifold leak, requiring professional diagnosis.
- Brown Sludge Buildup: Often caused by using stop-leak products, which can clog the cooling system.
6. Check the Hoses and Clamps
Inspect the rubber hoses and clamps connected to the radiator and coolant reservoir:
- Hoses: Look for cracks, bulges, or excessive grime. If the hoses are worn out or feel spongy, they should be replaced.
- Clamps: Ensure the clamps are tight and secure. Loose clamps can lead to leaks. You can tighten them using a flathead screwdriver or pliers.
7. Check for Leaks
Low coolant levels often indicate a leak. Look for signs of coolant leaks under the car or around the engine bay, such as:
- Puddles of coolant (often green, orange, or pink).
- White or crusty residue around hose connections or the radiator.
- Steam or a sweet smell when the engine is running.
If you suspect a leak, a professional mechanic can perform a pressure test to pinpoint the source.
Regular Coolant Service: Why It Matters
Even if your coolant appears clean, it’s essential to follow your car’s recommended coolant service schedule. Most modern vehicles require a coolant change every 100,000 to 150,000 miles, but check your owner’s manual for specific intervals.
Why Professional Coolant Service Is Recommended
Coolant changes or flushes are best performed by professionals because the process can introduce air pockets into the cooling system. Air pockets can cause overheating if not properly removed. Mechanics use a vacuum-fill tool to remove air and refill the system efficiently.
How often should I check my car’s coolant level?
It’s a good idea to check your coolant level at least once a month or before long trips. Regular checks help you identify potential issues early.
Can I mix different types of coolant?
No, mixing different types of coolant can cause chemical reactions, leading to sludge buildup and reduced performance. Always use the coolant type recommended in your owner’s manual.
What happens if my coolant is low?
Low coolant can lead to overheating, engine damage, or even failure. If your coolant is consistently low, have your system checked for leaks.
Can I add water to my coolant?
In emergencies, you can add distilled water to the coolant. However, it’s best to use a 50/50 mix of coolant and distilled water to maintain proper protection against freezing and overheating.
What should I do if I see coolant leaks?
If you notice coolant leaks, have your car inspected by a professional. Leaks can be caused by cracked hoses, faulty clamps, or a damaged radiator.
Why is my coolant brown or rusty?
Brown or rusty coolant indicates contamination or corrosion. Your system may need a coolant flush or component replacement.
Is it safe to drive with low coolant?
Driving with low coolant can cause your engine to overheat, leading to serious damage. Top off your coolant and have the system checked immediately.
How do I know if my thermostat is faulty?
Signs of a faulty thermostat include overheating, fluctuating temperatures, or lack of heat in the cabin. A mechanic can diagnose and replace the thermostat if needed.
Should I use coolant stop-leak products?
It’s best to avoid stop-leak products, as they can clog the cooling system and lead to more significant issues. Repair leaks properly for a long-term solution.
Regularly checking and maintaining your car’s coolant system is a simple yet effective way to keep your engine healthy and avoid costly repairs. By following this guide, you can stay ahead of potential issues and keep your vehicle running smoothly for years to come.
